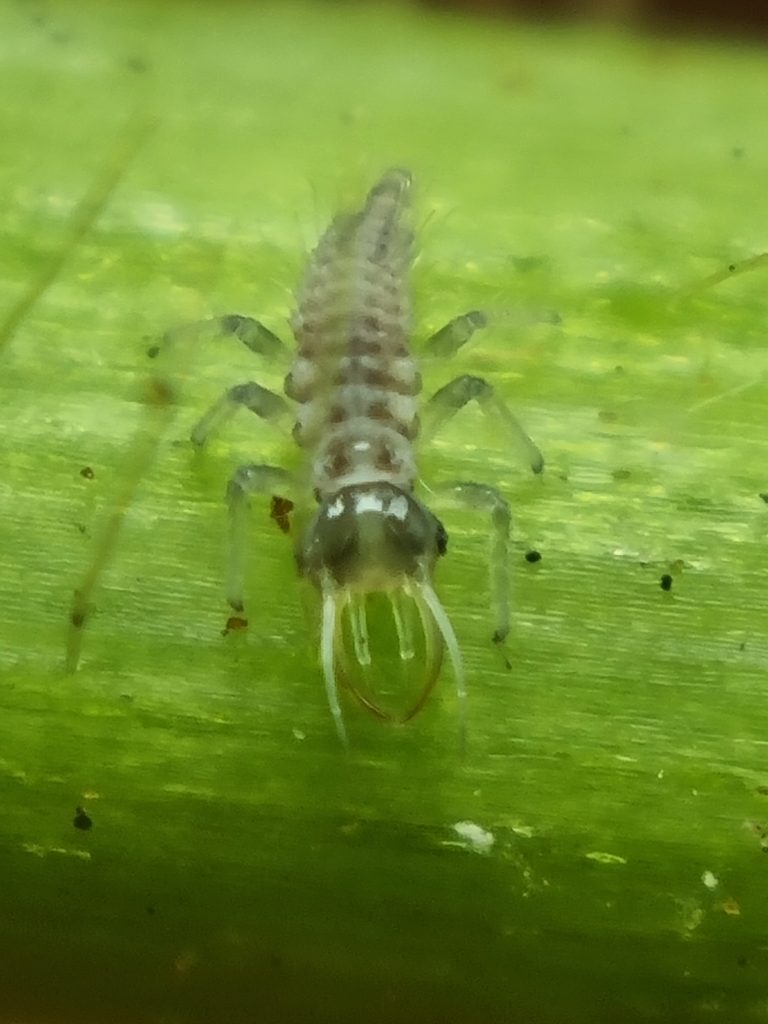
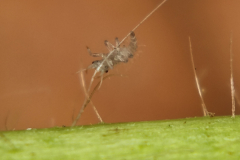
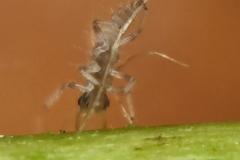
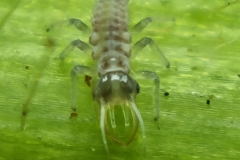
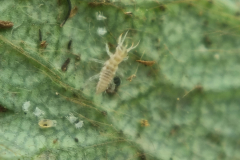
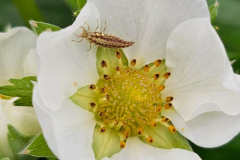
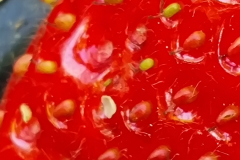
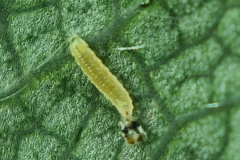
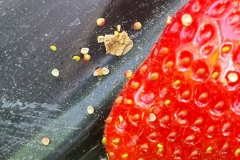
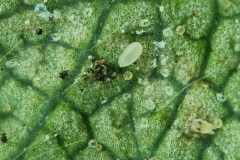
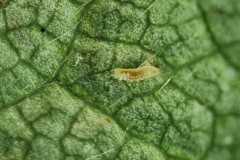
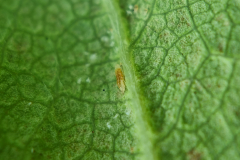
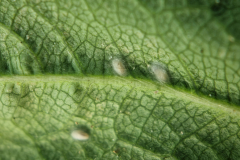
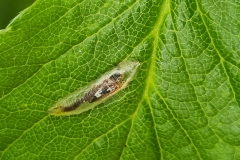
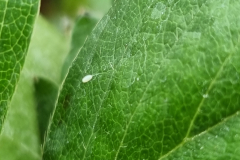
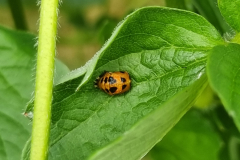
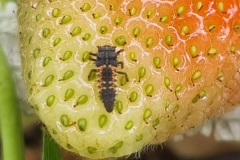
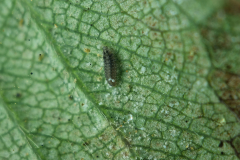
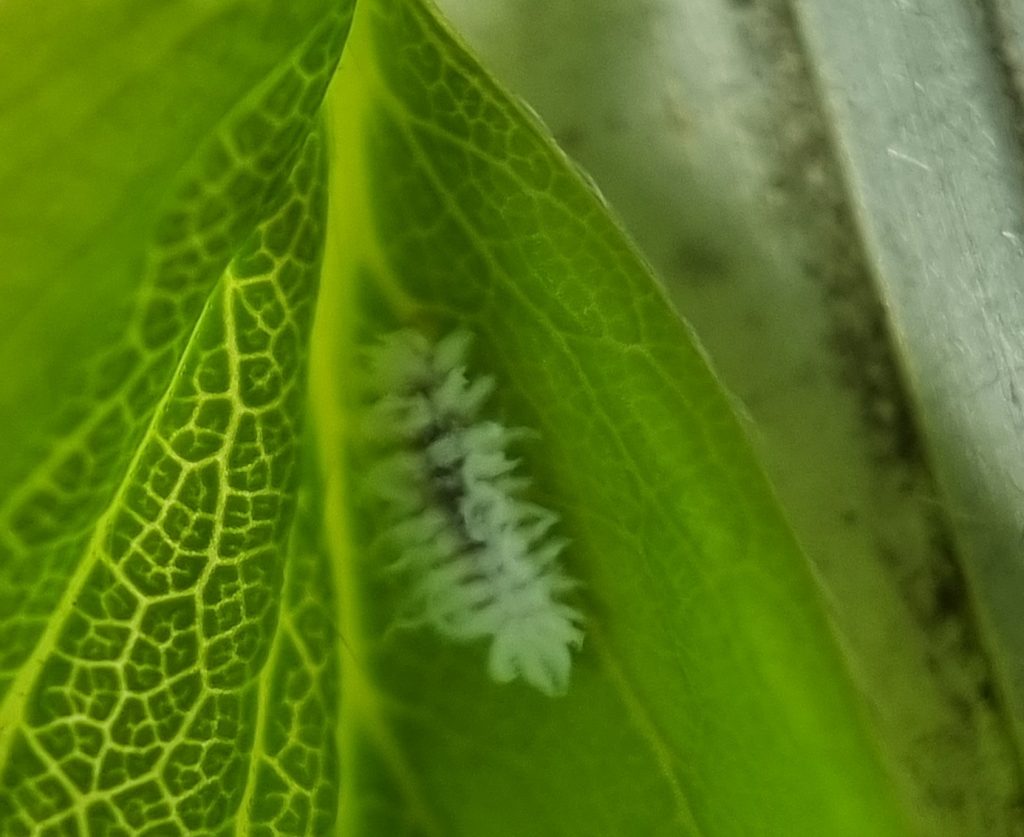
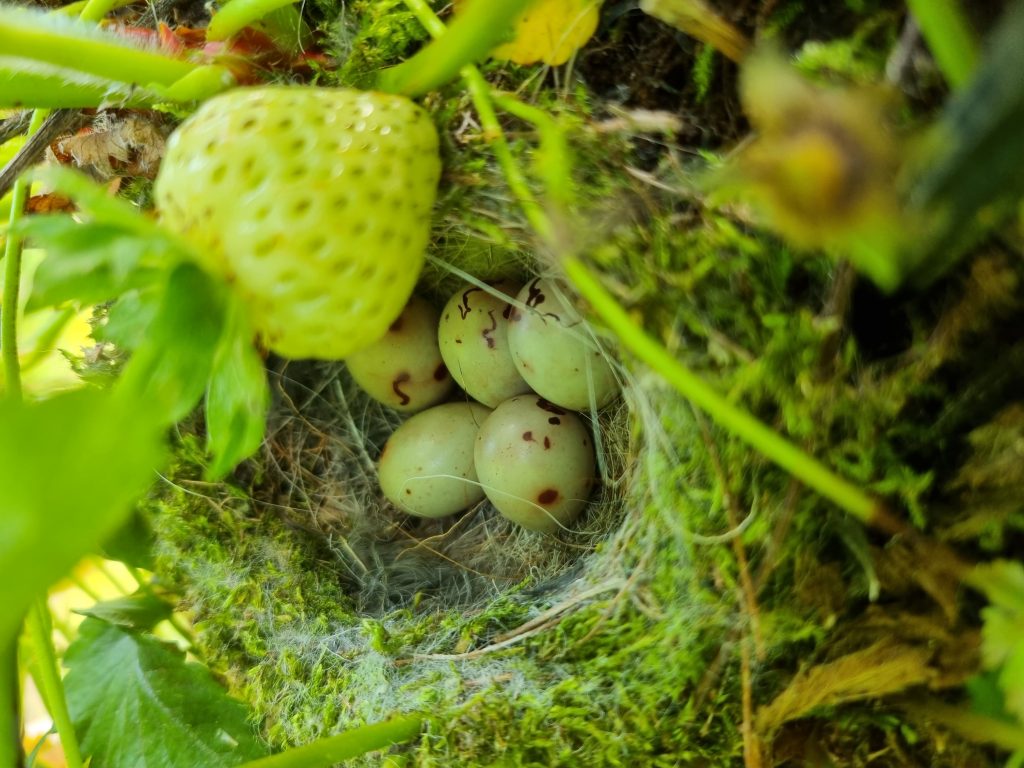
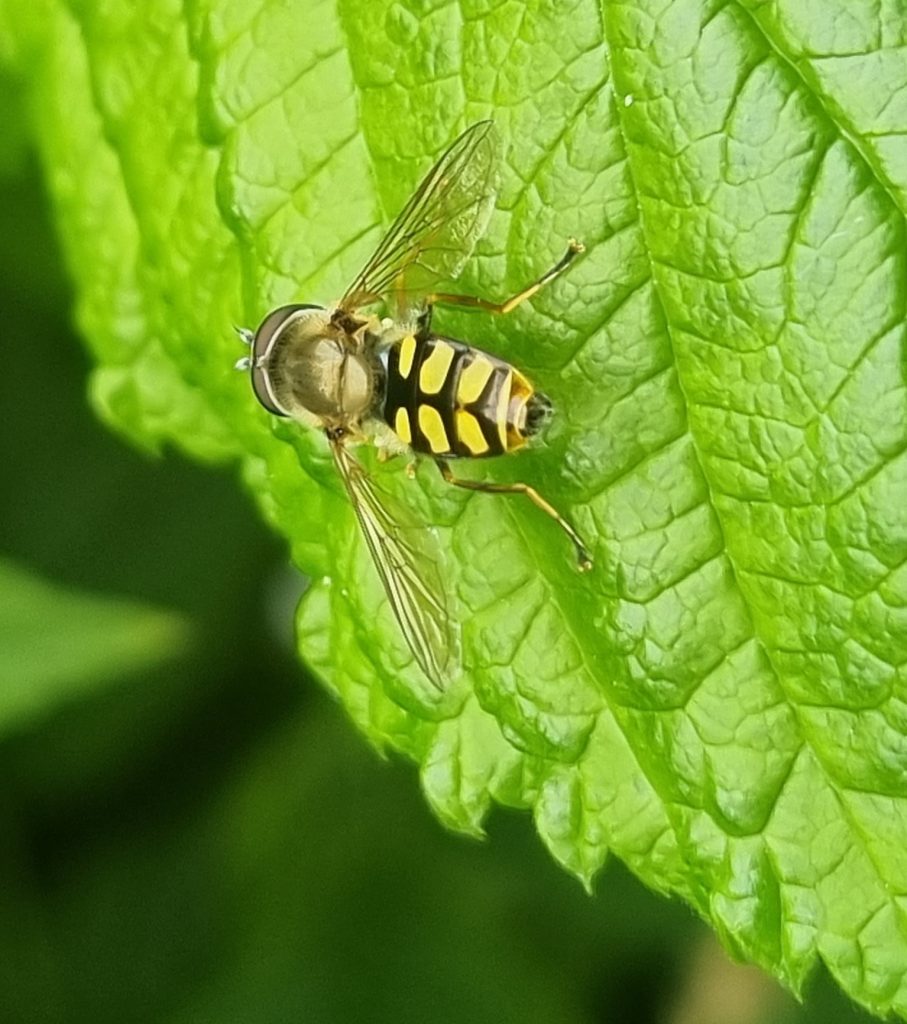
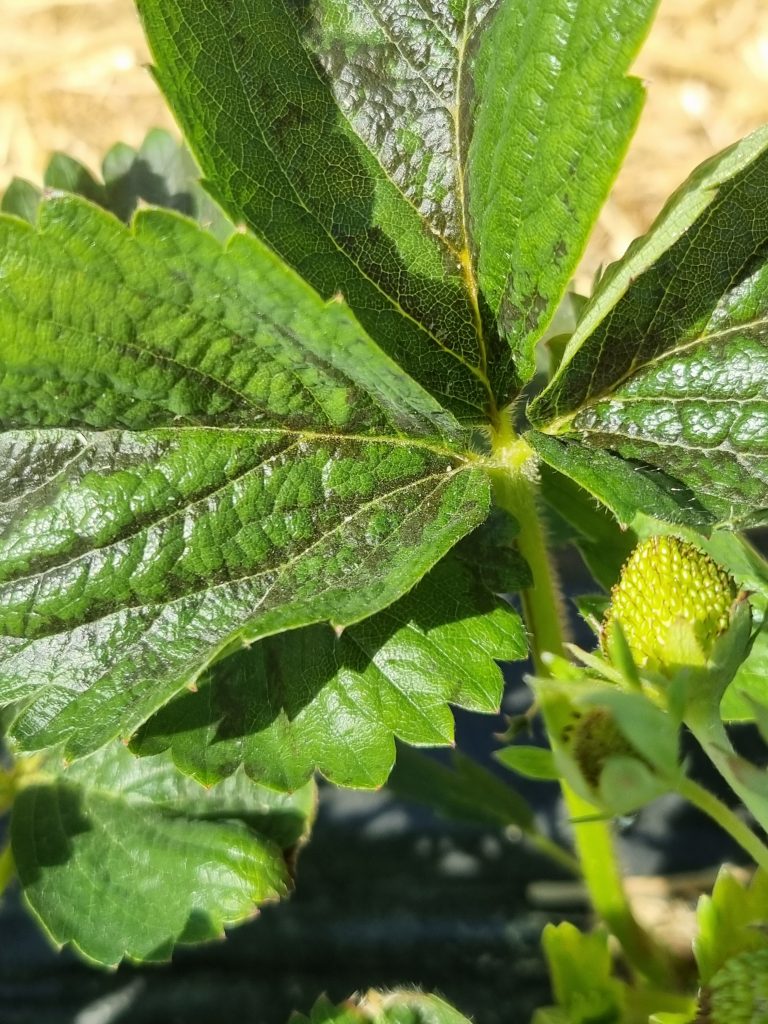
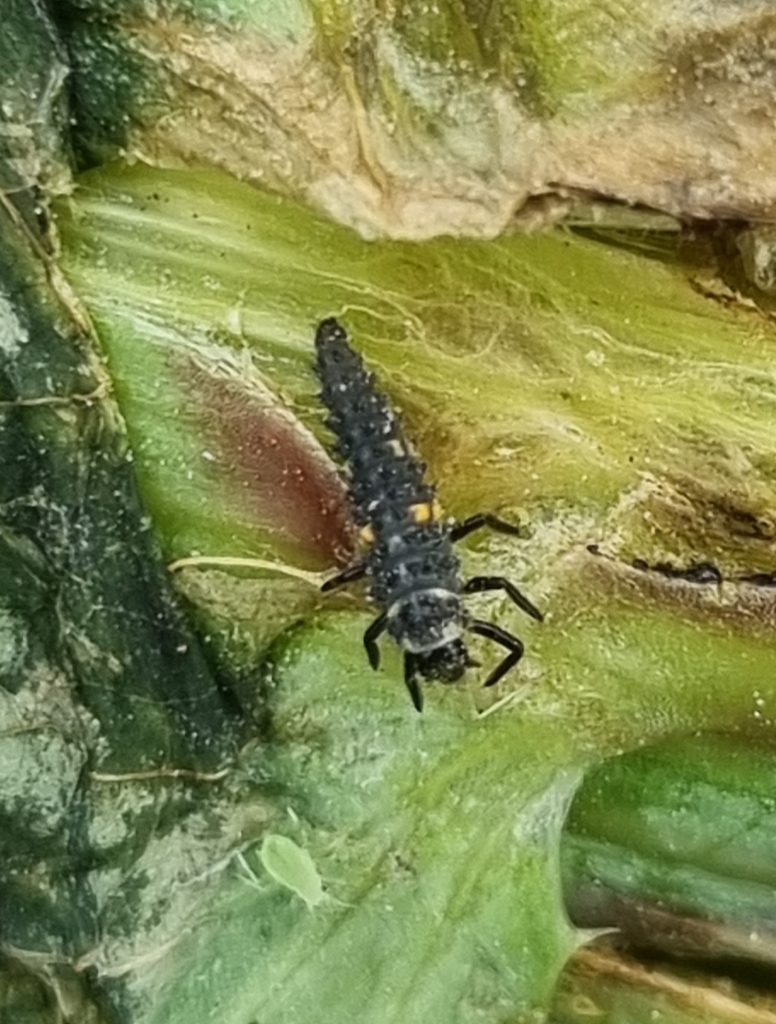
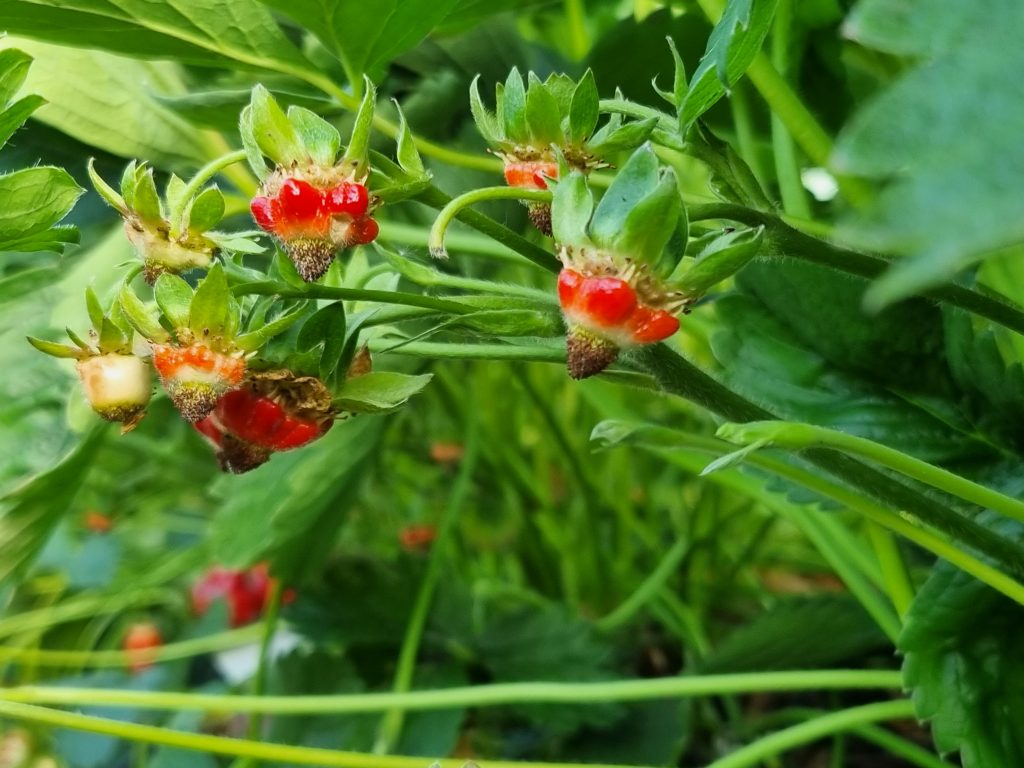
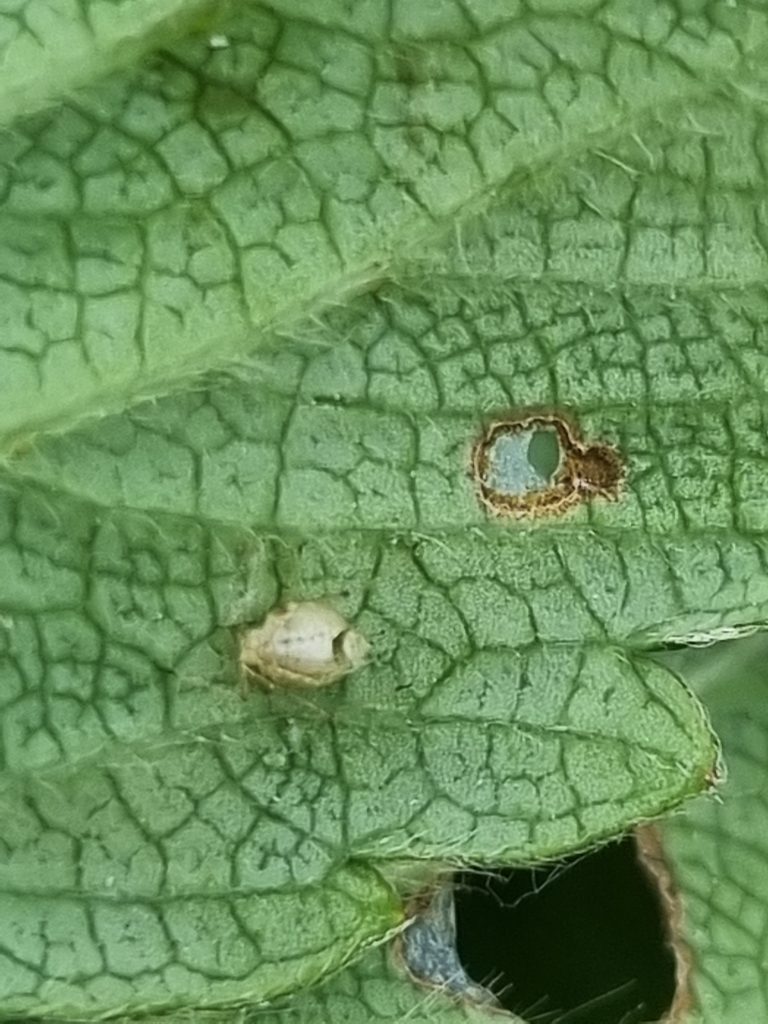
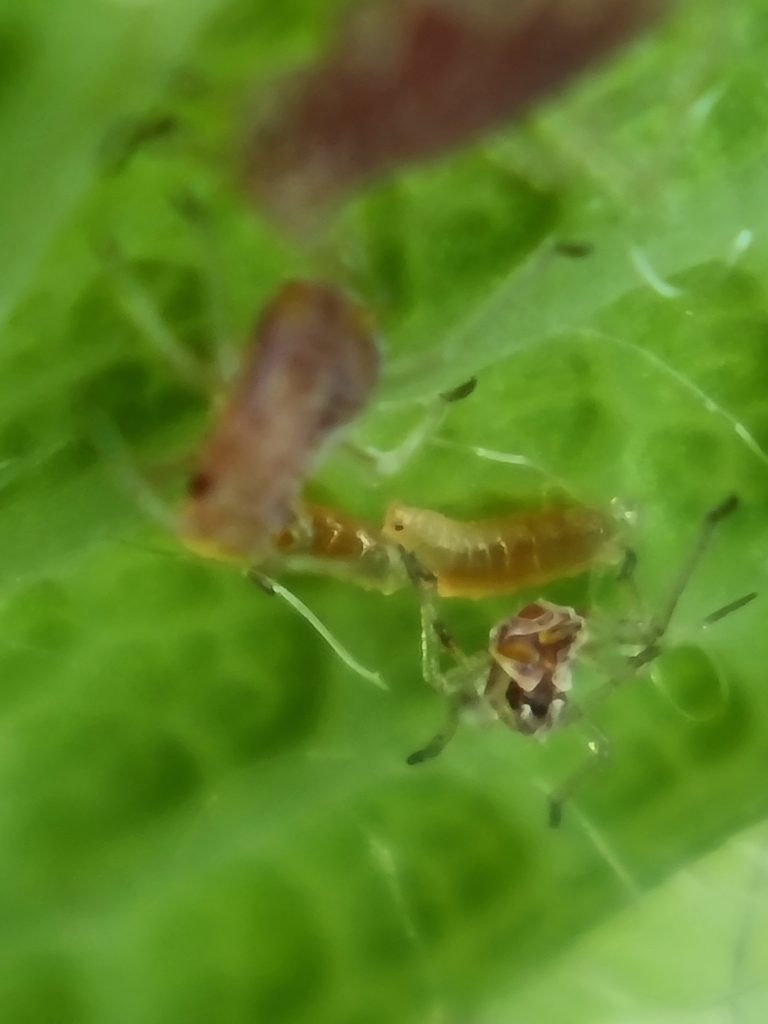
White fly predators: interesting to see the black larvea in stead of greenish colored larvea. 2 growers stopped using insecticides and those predators turned up naturaly.
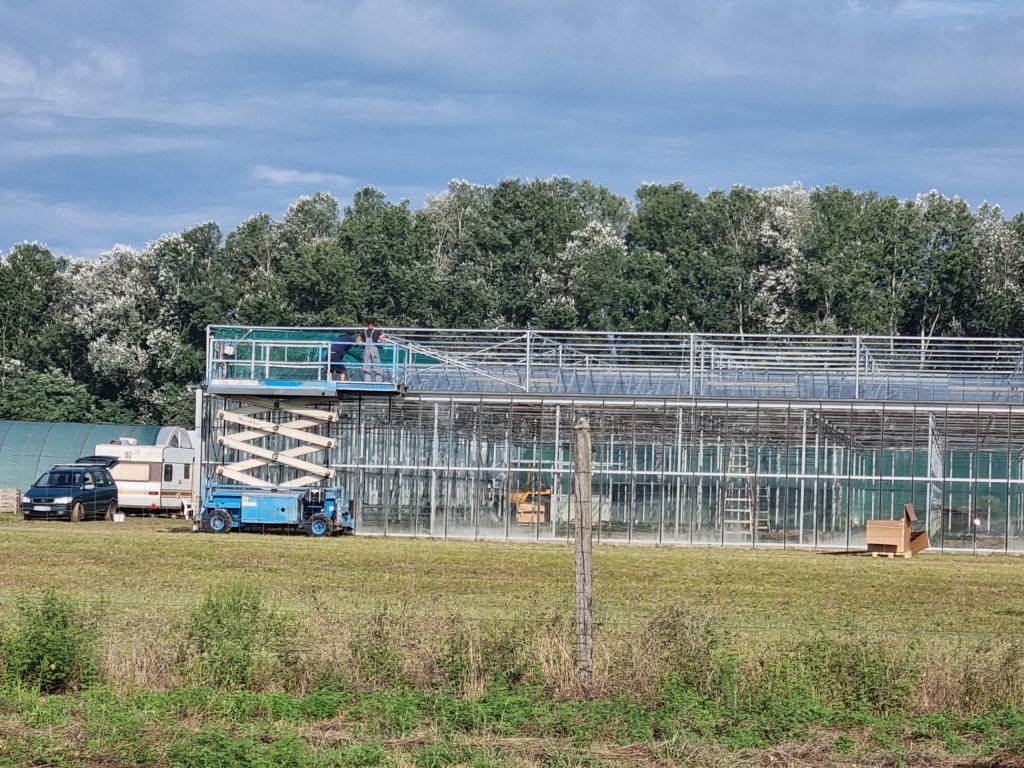
Interesting: outdoor screening in order to keep the heat out. Works fine so far.
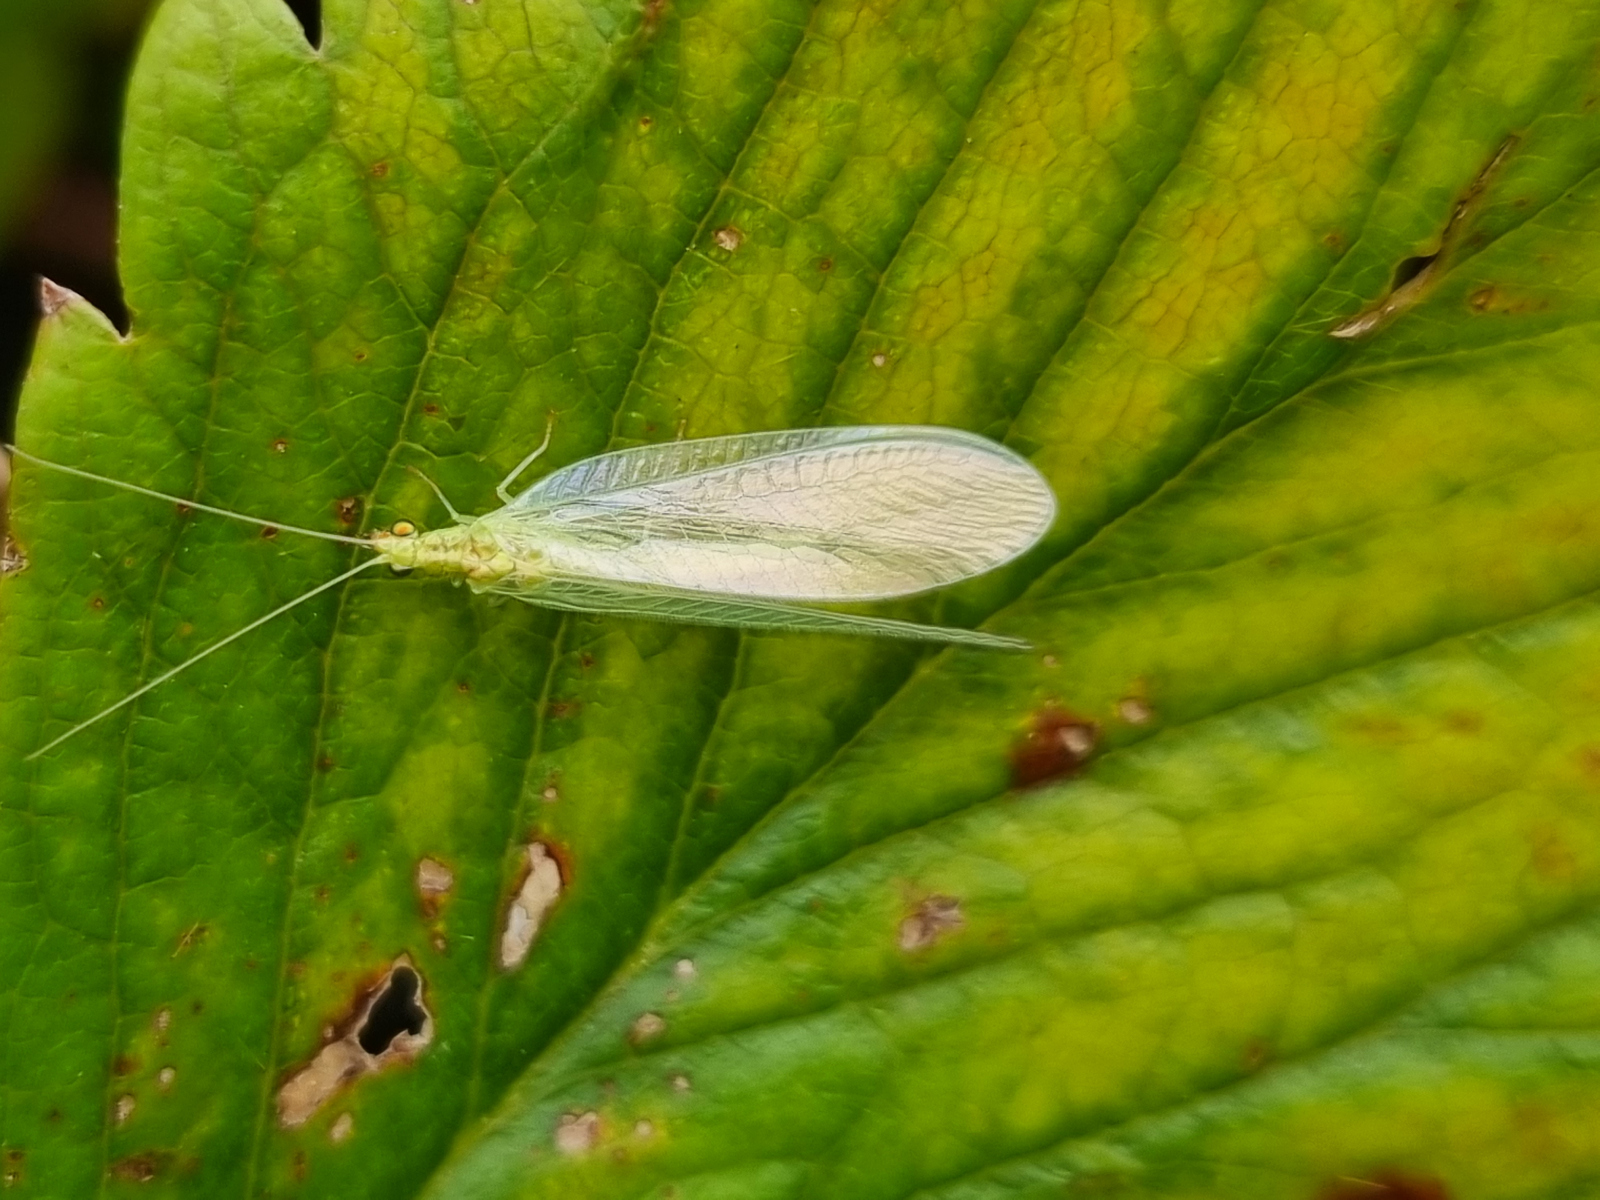
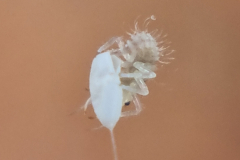
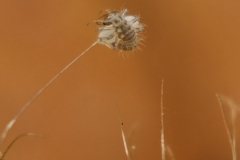
This time a nice sery of pictures, especially about the lacewing. The adventures of a young lacewing larva entering the big bad world (although – who is bad?).
But also: lacewing larve eating quite a lot more as aphids: spidermites, spidermites eggs, and thrips (in the flower).
I have seen lots of lacewing eggs last 2 week. Essential in all those cases is: no insecticides. One grower with quite a lot of nature around the plot: lots of lacewing, hoverfly, feltiella, andersoni etc all just from the surrounding nature.
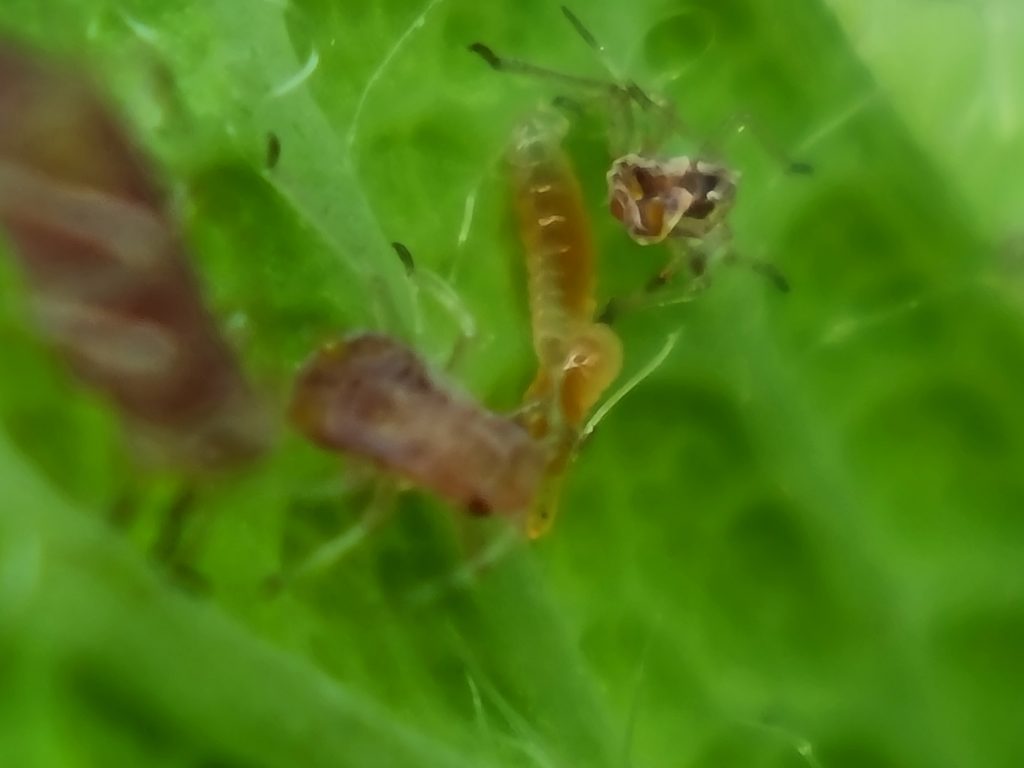
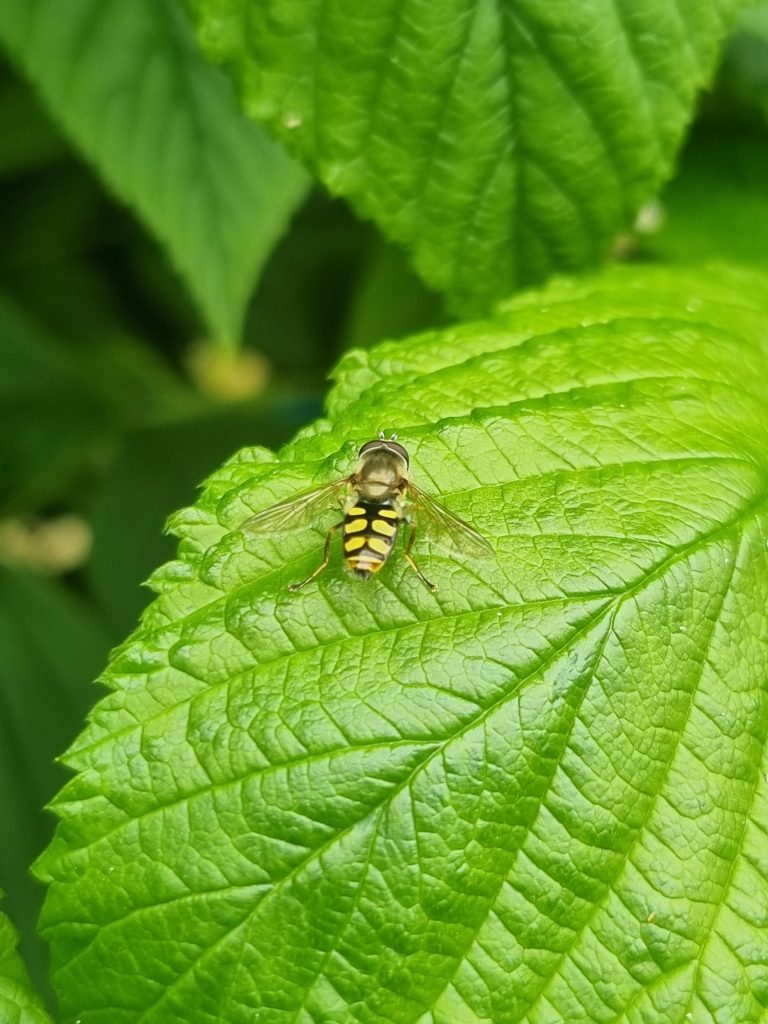
This week again a nice couple of good bugs. Especially lots of feltiella showing up in strawberries within some spots with spidermites. Between these spidermites also a sofar unidentified help. Especially the Feltiella and the Hoverflies can consume huge populations of Spidermites / Aphids.
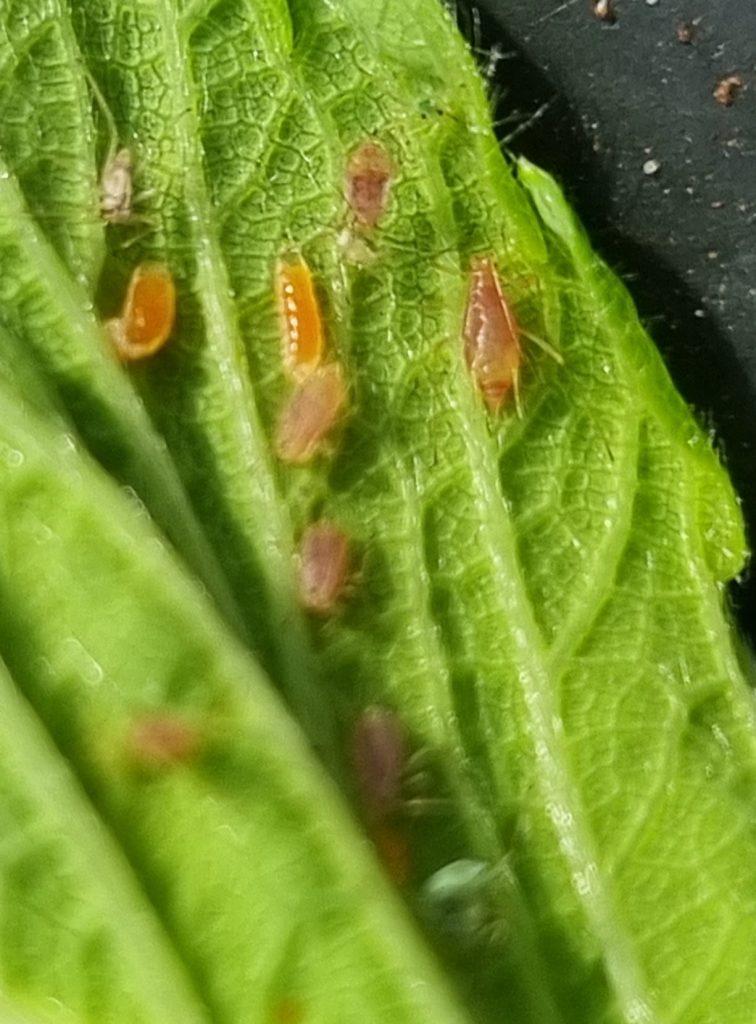
The interesting thing in those predators on the picture, is that most of them are native and grew in that crop by themselves. I see more and more, that the area around the strawberries is very important for the development of a natural population of predators.
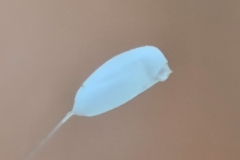
Below pictures of: – Feltiella egg. Feltiella is a great consumer of spidermites. It may delete complete colonies of spidermites on leafs. – Feltiella Larva 2x – Feltiella pupa – Hoverfly larva (huge aphid consumer) – Lacewing egg – Ladybug pupa – Ladybug larva – A type of ladybug: Stethorus punctillum (with thank to Markus Hofmann)
One of the biggest issues of growing strawberries is, that you may only experience the yield if you are in the last part of the growth. That doesn’t satisfy me. After 100 days of sub-optimal photosynthesis, we talk about quite a lot of growth thus money. We love to bring that back to 1 day, or if possible even hours.
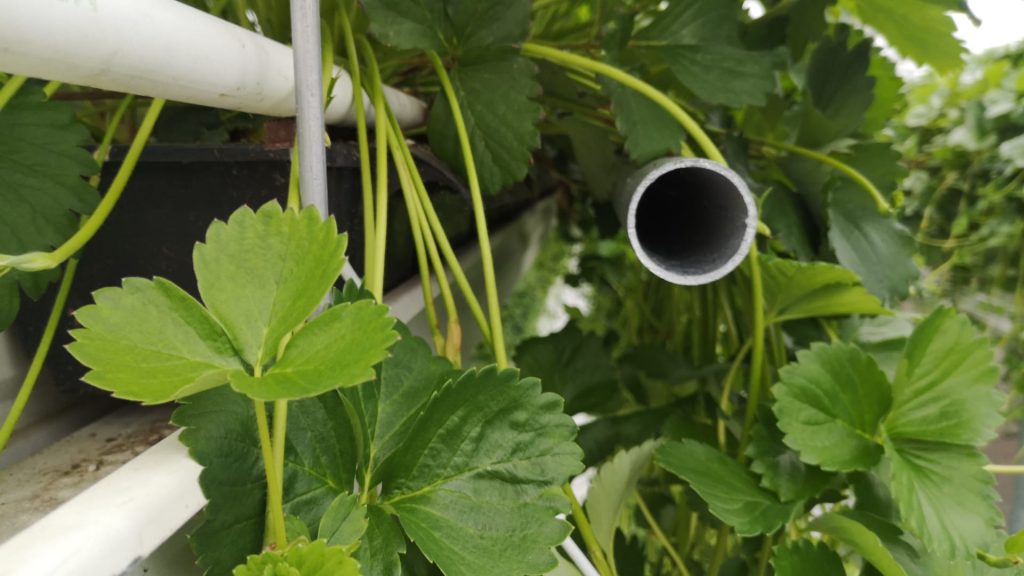
Below a system for measuring the growth of Runners. In the picture below you see the system.
On the left the gutter with container where the strawberry plants are growing. you see the runners from the container growing to the right. The tube there is weighing the runners. This tube is connected with electronic measuring cells.
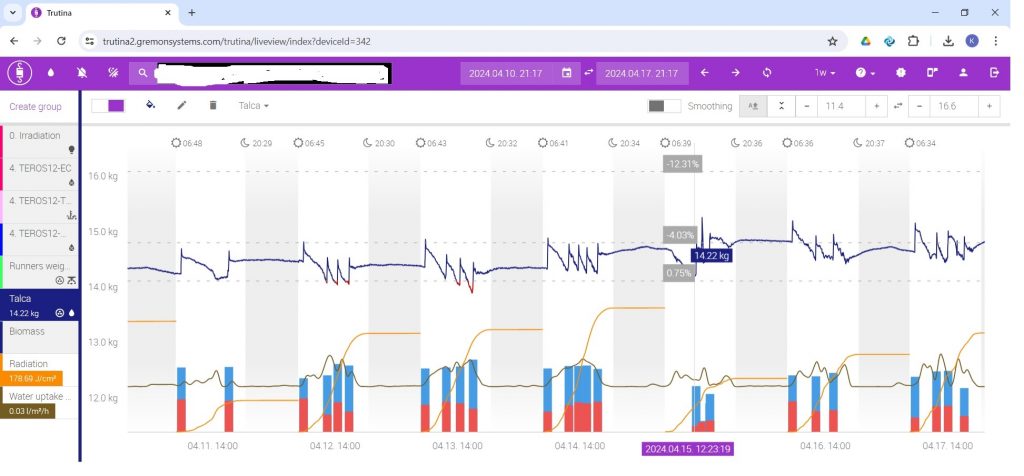
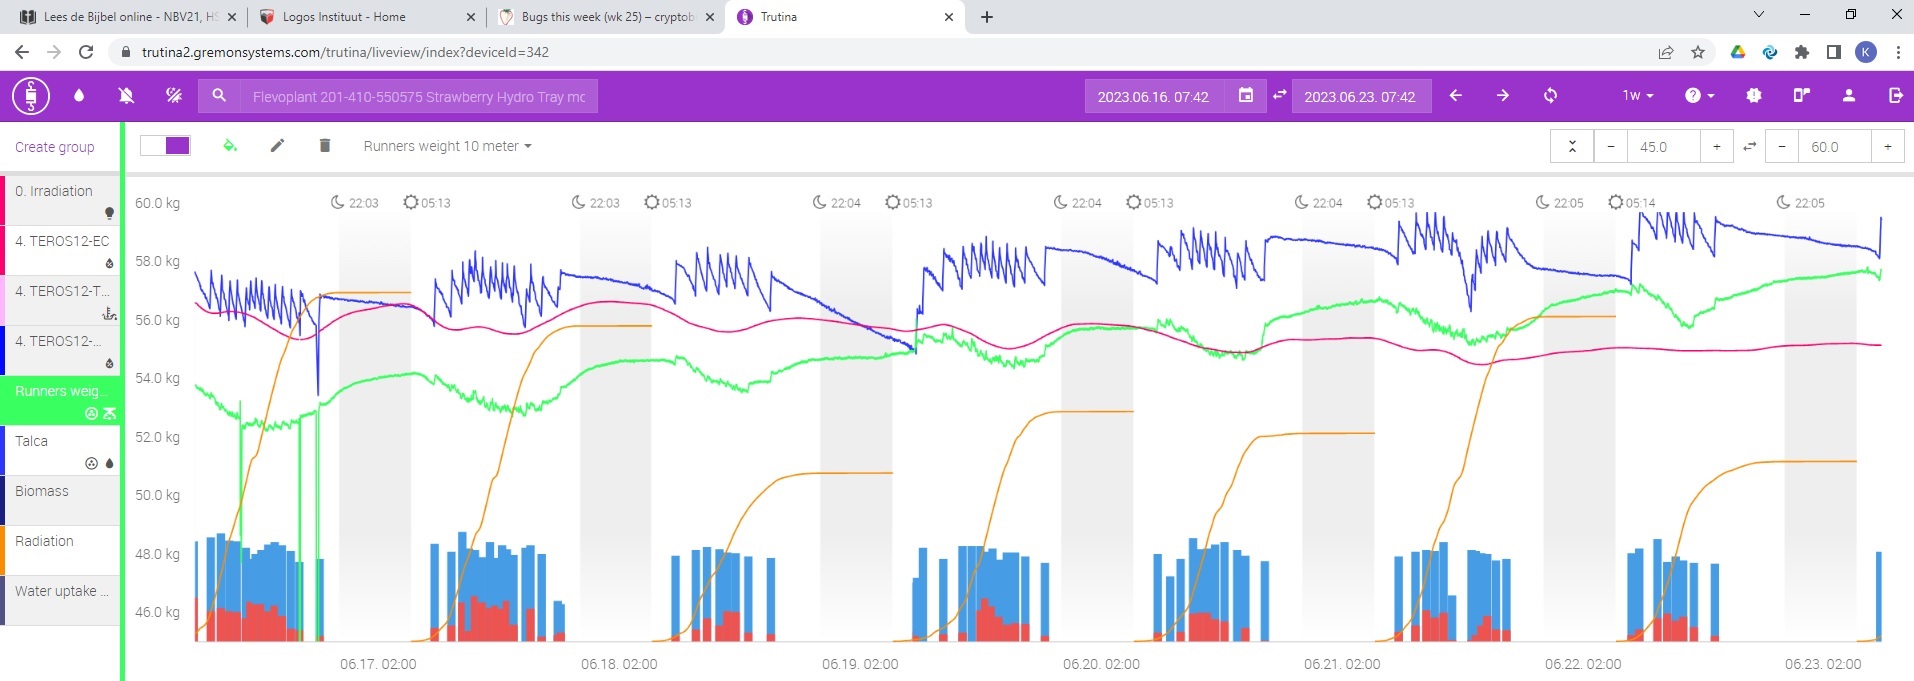
The results are shown in the graph below:
Description: – left hand ax: weight in kg/10 meter (including pipes etc) – bottom ax: date – green line: graph for weight – reddish: EC – blue: moisture (scale based) – yellow: radiation – Bottom bar graph: – blue: amount of irrigation (per 2 linear meter) – red: amount of drain
Results
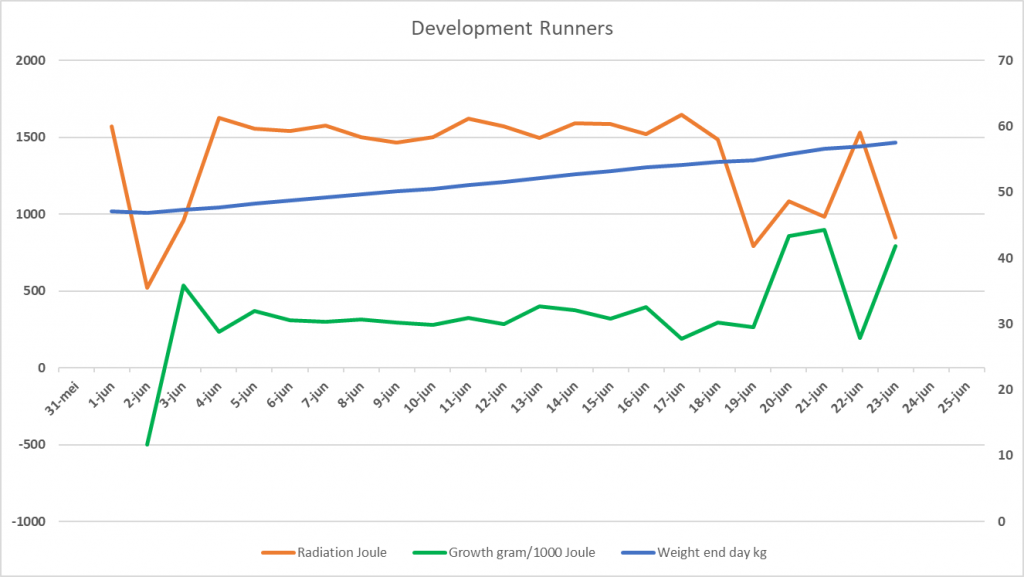
In the graph above you see the first results: – Left ax: Radiation in joule and growth (gram/1000 joule) – Right ax: Weight just before sunrise -Lines: – Orange: Radiation (Joule/day) – Green: Growth in gram/10 meter/1000 Joule – Blue: Weight just before sunrise
Interesting to see is the differences from day to day. Just these are the reason for measuring: why are the differences there and how can we use them for optimizing the growth and thus the results.
Several bugs this week: from Hoverfly, to Aphids, Larva of Aphidoletes, Birds, Larva of Lady bug, and some plant reaction of chemicals. The beauty this week was the Cryptobug. A volunteer, just got in that greenhouse. A little shy, but nice to see.
Or bugs? Quite some different issues i ran in this week.
The first to mention is herbicide damage. Every year i see about 10 cases of herbicide damage. Especially from Roundup. It seems so easy to use, but in my view Roundup and strawberries just don’t combine. Just a little wind, a little movement in the air and there is yellowing and consequences for the crop. On this picture you only see the consequences for the fruits / flowers. But there was also a slight yellowing of the leafs.
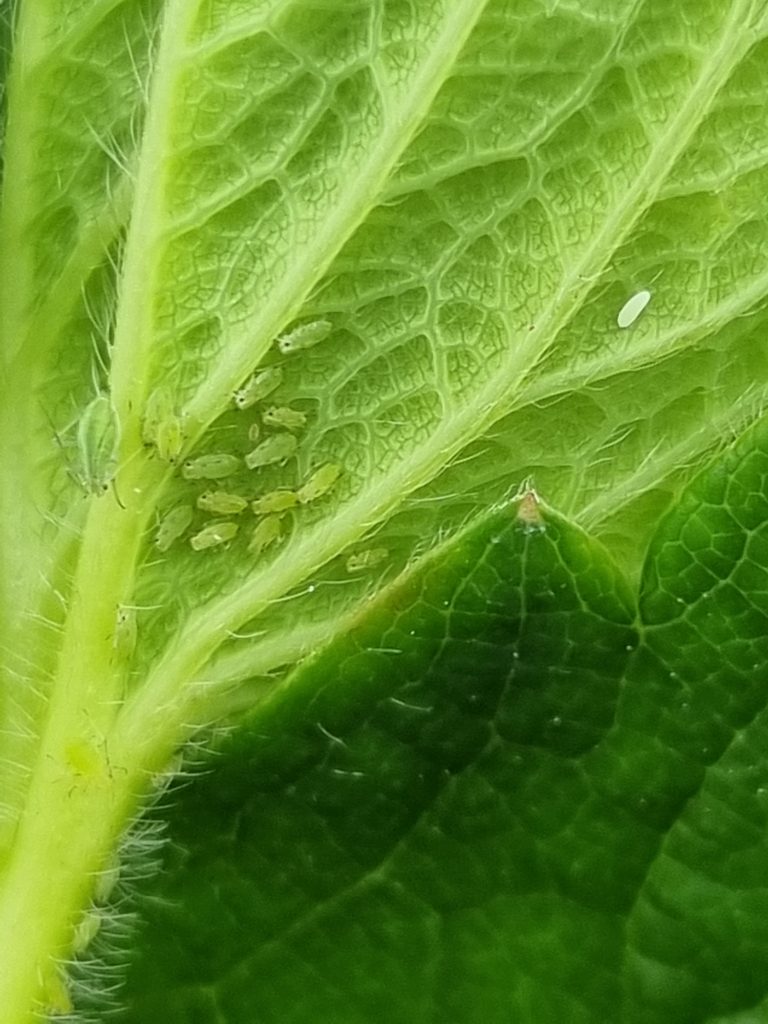
Aphids can be seen this year. But good to see the predators as well. On the pictures you see Aphidius (predated aphid), Aphidoletes at work, Hoverfly adult and Hoverfly egg. The Aphidoletes used to work very fine, at least if they are not combined with a bit more agressive predatory mites.
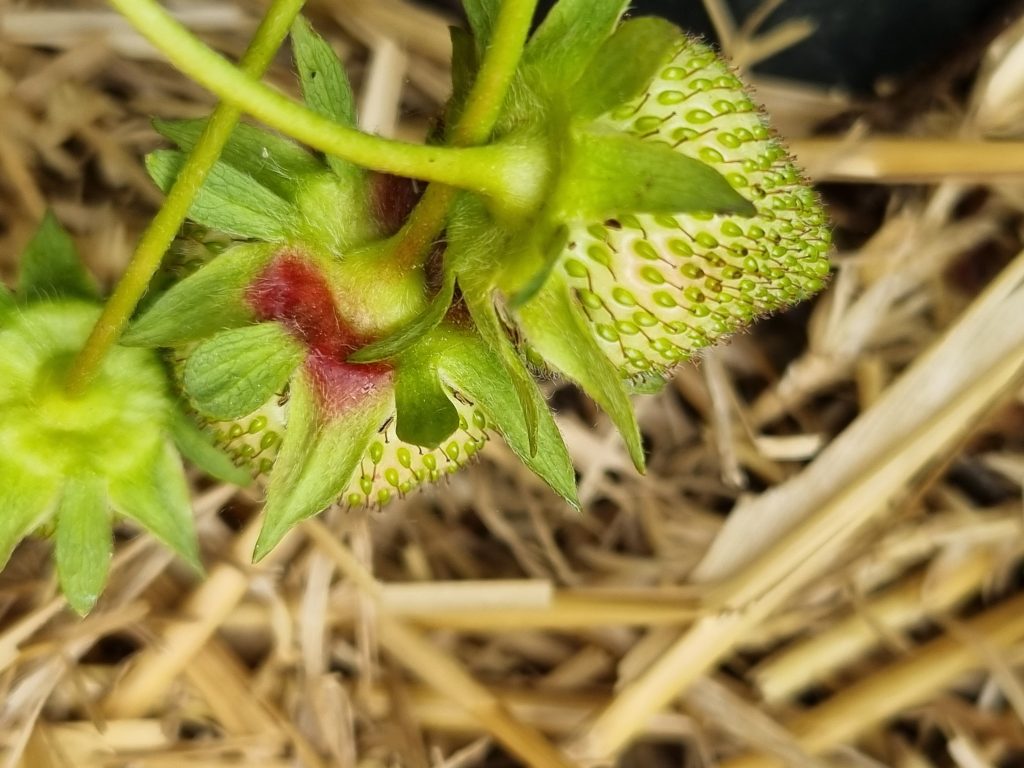
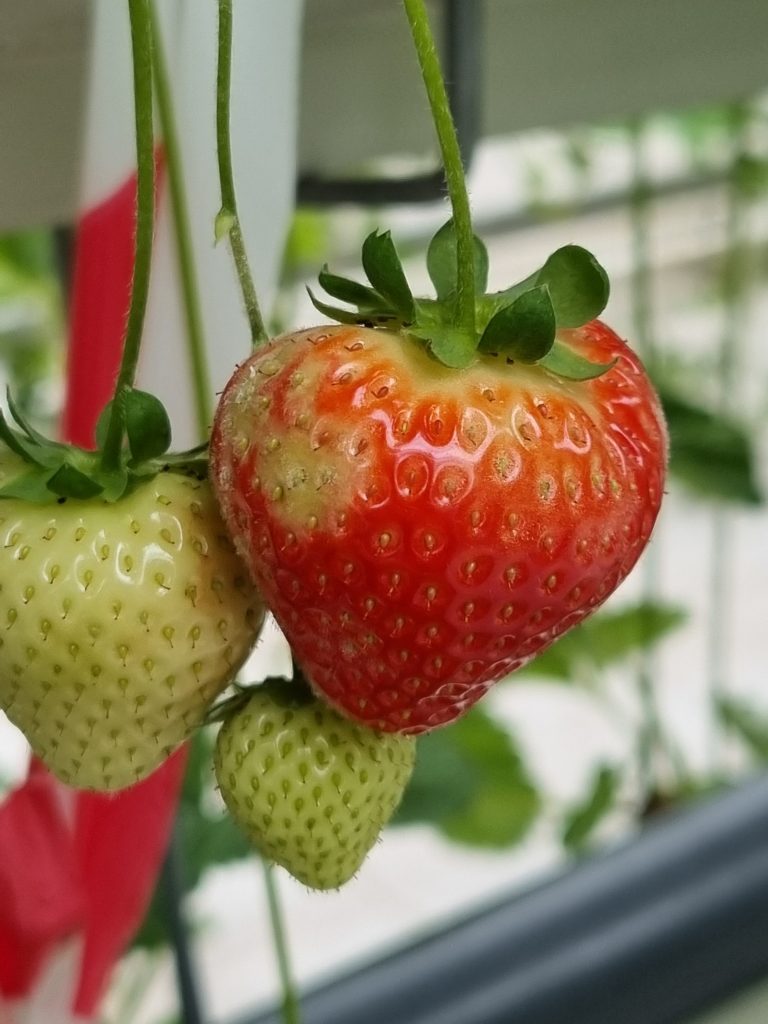
Mildew and Botrytis Every year an issue. So far although we had quite some rain the botrytis levels are still very acceptable. In the picture below the very first sign of Botrytis: the red spot on the Sepal. Mildew: this time the consequences for the fruit: an uneven coloring.
Visiting strawberry growers brings always some nice surprices.
This time several predators (one of aphids) and 3 pictures of rooting in different conditions.
Bugs: – An aphid – Aphidius on the leafs of lemon (a grower who has lemon in a greenhouse next to his strawberries) -Aphidoletes just finished its meal -Egg of a hoverfly -Egg of a lacewing -Predatory mite. I sometimes see huge amounts. Especially where the climate is a bit tempered they may develop very nice.
Last weeks i have also seen huge numbers of Feltiella. Sometimes diminishing huge colonies of spider mites. Especially the native feltiella used to develop very good.
Rooting: Nr 1: an example of very dry growing. Consequence: roots for 90% in the bottom 5 cm of the substrate. No buffer, in case of changing weather this directly influences the quality of the strawberries: – if it gets wet, roots may get water soaked and suffer oxygen deficiency, causing yellowing of leafs and soft fruits – if it gets dry, the buffer of water is too low, so plants will suffer water deficiency Nr 2: A bit dry growing, with below the drippers good rooting, but between them not enough roots Nr 3: clearly better rooting, but a bit more water would be better (you can see the huge amount of roots on the bottom of the substrate)
“If they would be as big as an elephant, it wouldn’t be an issue. “
Because they are so small, hardly to see, they can cause big damage in the strawberries. Every year again there are issues.
This year i have seen already several crops with problems with strawberry mites.
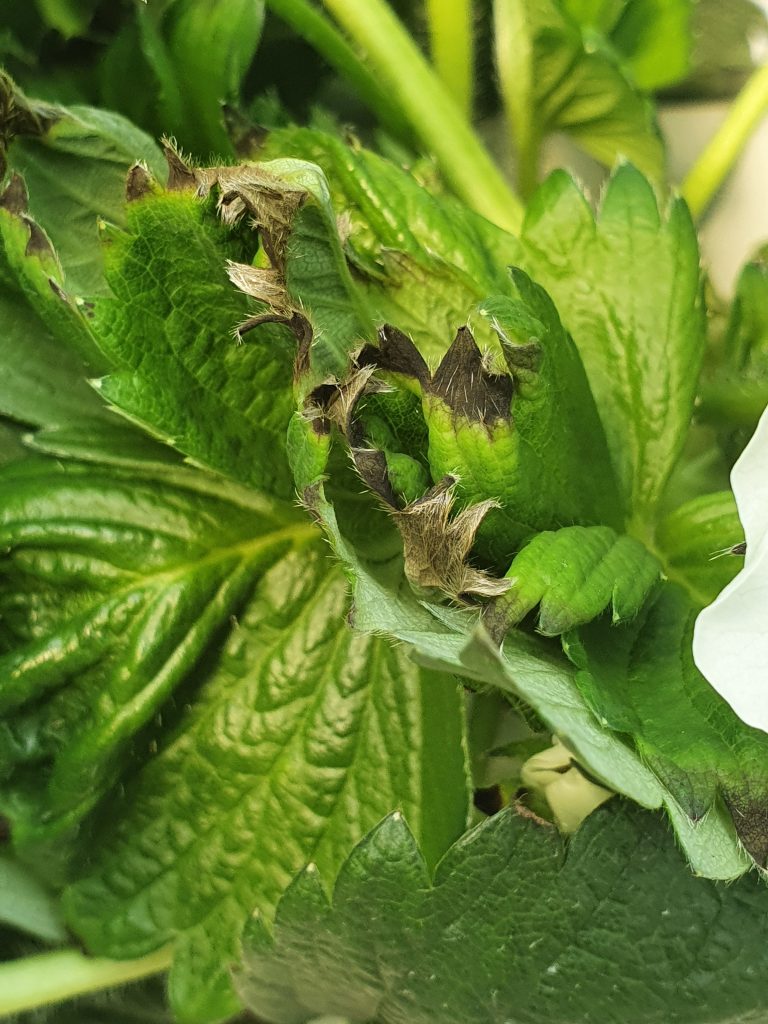
Below some pictures, you can see the misshapen leafs and flower buds. It is important to know that not all misshapen leafs and flower buds are the results of strawberry mites. Other sources are: – growing circumstances (cold / fast growth / frost) – aphids If you want to know if it is from strawberry mites, a check of the young leafs under a microscope is needed in order to determine the mites.
Created with Nokia Refocus
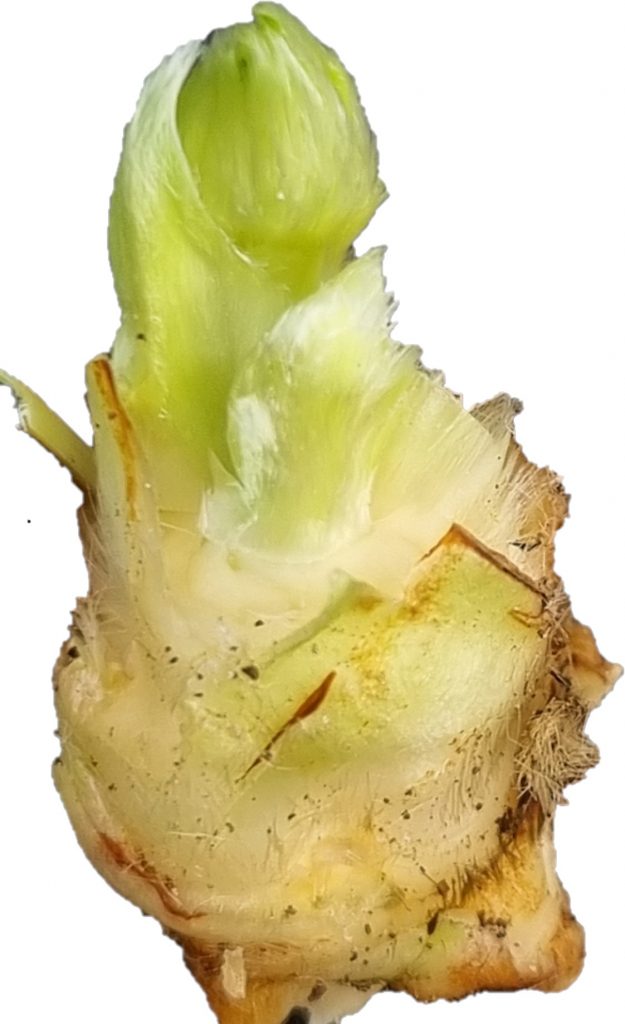
If you want to see them, you need a microscope with a magnification of at least 20 X.
The best place to spot them is between the very young not yet unfolded leafs. The eggs look like sand, larvae don’t have much color, adults are a kind of yellow/brownish.
Treatment. There are several chemicals that might work, just if we could get them in place. Because they are hidden in the hard of the plant max 70-80% of the mites can be reached.
The best results are achieved with a mix of chemical and biological: 1- treatment with abamectine + wetting agent, with quite a lot of water. Goal is to reach the hard of the plant. (spray abamectine always during low radiation (evening), as it breaks down quite fast under high UV circumstances) 2- repeat after 7 days 3- after 10 days place predators (loose, not in sachets): Amblyseius Cucumeris 100-200 pcs/lm and or Andersoni 50-100 pcs/lm 4- after 7 days place predators (loose, not in sachets): Amblyseius Cucumeris 100-200 pcs/lm and or Andersoni 50-100 pcs/lm
Prevention propagation Strawberry mites cannot handle high temperatures and low humidity. In Hungary we have very good experience with high temperature treatment right after sticking the runners. Right after sticking the runners 100% humidity is needed for the runners to root. In that time of frequent misting in the first week, if the temperatures go up till 50oC there are no strawberry mites, as well as spider mites, aphids etc left.
Normally it is a goal to reach that temperature of 50oC with 100% humidity, in order to have completely clean plant material. Recent research even showed that viruses seem to be killed at those temperatures. Take care, following items are important: – 100% humidity (normal misting: 1 minute + 5-10 minutes pause) – temperature goal 0,5-1 hour/day: 50oC – radiation max 400-500 watt (shading needed)
We all know roots are essential for plant development. Problems with roots always effect production: or the amount or the quality.
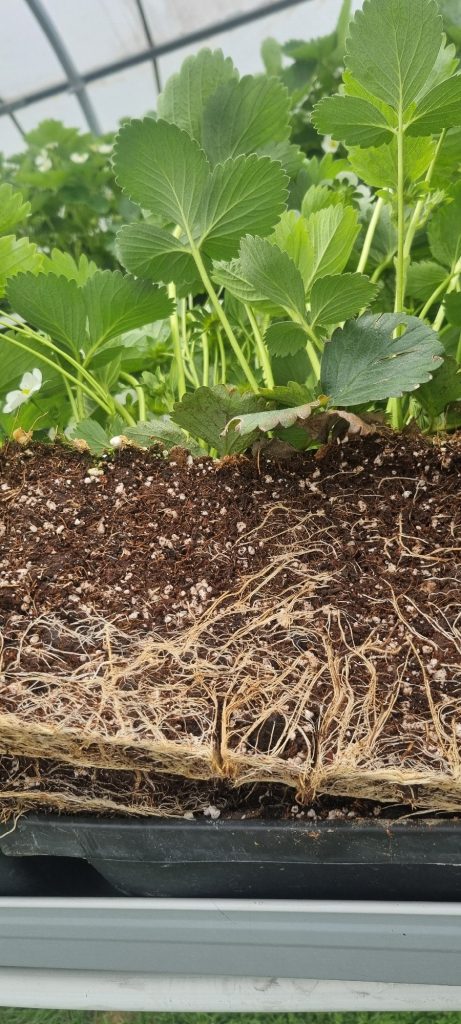
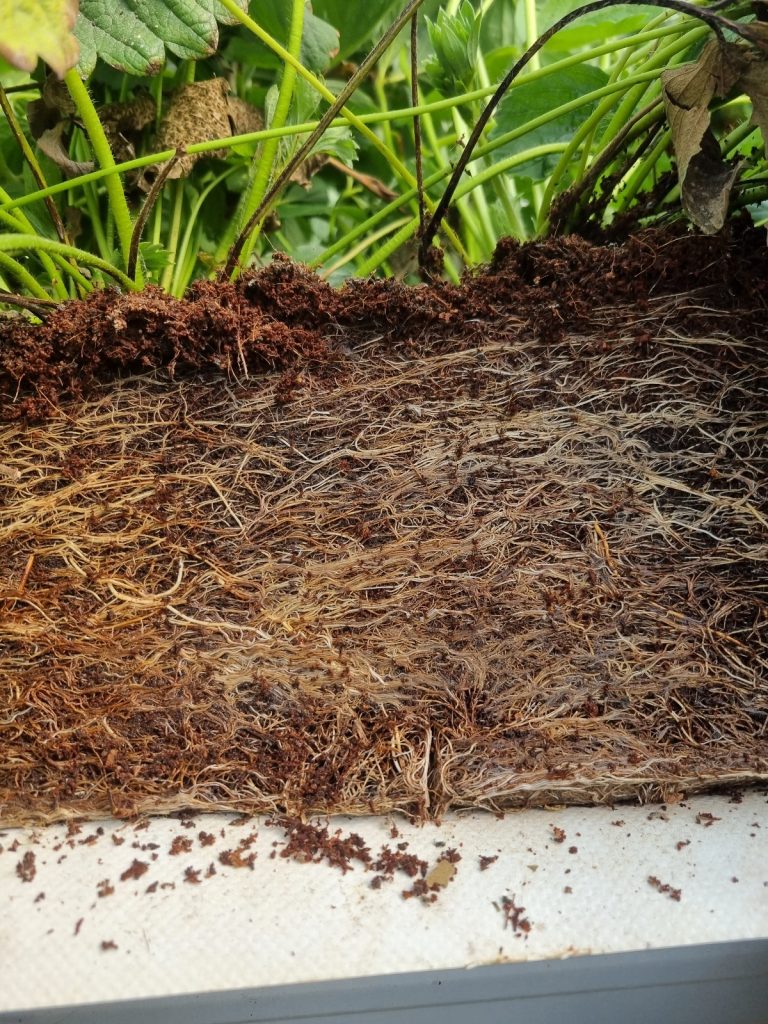
Below several types of rooting: from dry deep growing till balanced roots all over the substrate. Good roots – have oxygen in the rooting zone (air between the particles) – are everywhere in the substrate (from top till bottom) – are white
If you see these pictures, just think in terms of how much water and fertilizer the plants may take up.
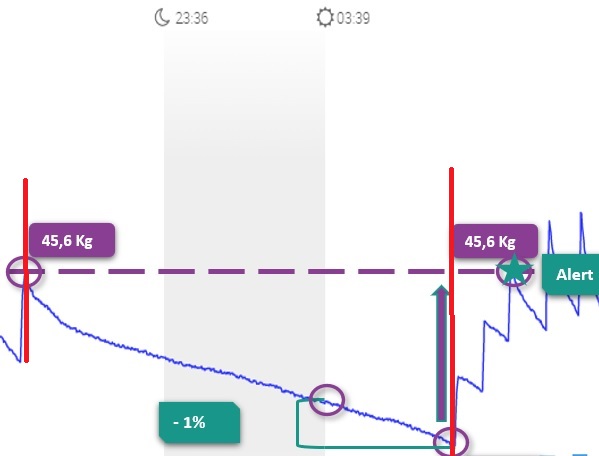
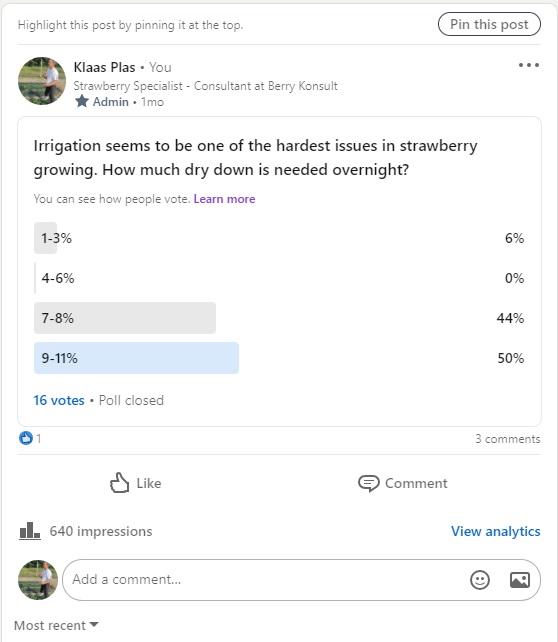
Most growers i know experience good irrigation as one of the hardest jobs in growing strawberries. A small optimum of the moisture content, a fast reaction on changes in recipes makes it the feeling of a balancing act without rod.
The only way to change this is, to act and check and correct and check and correct and…. Good strawberry growing is really top sport. Performing without loosing attention. Set priorities within your company.
I see it frequently in the values i measure and problems growers face: – start often quite dry, with low EC’s – during the season EC’s going up too high, substrates getting dry – wet substrates, with leaf yellowing – shelf life issues, or sensitive skins – tipburn
Below you have some ways to improve irrigation. But before this one main rule: no sudden changes! Plants adapt to situations, an example: A plant may grow under too dry circumstances, this means roots go down to the moisture, less stomata in order to prevent evaporation, thicker wax layer etc. Sudden changing to more irrigation will lead to oxygen deficiency in the rooting zone of maybe 80% of the roots. This surely will lead to soft strawberries, to leaf yellowing, maybe even root diseases.
In the meantime there are quite some possibilities to get a stable and quite good moisture content. It is just following the rules, but to keep it good, we have to follow them steadily: 1- set irrigation based on radiation. The correlation between evaporation and radiation is very high. If irrigation is based on radiation, irrigation will be more frequent in case of a lot of sun. In case of cloudy weather, it will be less frequent 2- Normal start at about 2 hours after sunrise. Or as i like better: about 25-80 joules (depending on climate) after sunrise. 3- Check what you are doing: a- if possible follow the following items: drip: amount, EC, pH drain: amount, EC, pH climate: radiation b- calculation: % of drain water – goal: depending on weather conditions and LAI: 5-40% sum EC (total of drip + drain) – goal: 3,0-4,0 irrigation: amount/radsum: evaporation: drip amount ((ml/m2 ) – drain amount (ml/m2)) / (radsum/cm2) 4- Register this, and act based on this information.
Above 2 pictures. The first one with balance irrigation: roots from top till bottom. The second one of dry growing: roots at the bottom of the container.